If you work in a construction office, your inbox is probably a mix of tenders, RFIs, valuations and site photos, all with a job number somewhere in the subject line. Finding the right email for a claim or a handover can feel like detective work. This guide shows you how to organise construction project emails in Outlook using Construction mode in Mail Archiving Assistant, so every message lands in the right job folder and stays findable.
Why job-number filing beats ordinary email folders
Most Outlook filing advice assumes you file by sender or by topic. In construction, that falls apart quickly. The same subcontractor might work on three jobs at once, and the same topic (say, a variation) might come from five different people. What ties everything together is the job number: P1040 Riverside, 24-017, and so on.
If you file by sender, a valuation email from Sam Patel sits next to a tender query from the same person on a different job. When you need every email for a claim, you end up searching by hand and hoping you have not missed one.
Mail Archiving Assistant for Outlook is our Outlook add-in that suggests the right folder for every email and learns how you file. It works in new Outlook, classic Outlook and Outlook on the web. Construction mode is the part built for firms like yours: it files by job number, not just sender, and it is free in every plan.
The rest of this guide walks through the practical steps: setting up your job number pattern, creating job folder sets from presets, filing day to day, closing out finished jobs, and exporting a job's emails for claims and handovers.
Step 1: Switch on Construction mode and teach it your job numbers
Before you file a single email, spend two minutes on setup. Open the Mail Archiving Assistant panel in Outlook and go to the Look tab. Flip on Construction mode. A new Jobs tab appears.
On the Jobs tab, type one example of a job number, such as P1040 or 24-017. The add-in learns the shape of your job numbers. This matters because it stops phone numbers and invoice numbers from being mistaken for job numbers.
Then choose two folders:
- ✓The folder that holds your jobs. This is where your job folders live, for example a Clients or Projects folder.
- ✓The folder for finished jobs. This is where closed jobs go, usually an Archive by year.
You can also edit your contract deadlines and an optional file server folder here. Everything is editable later, so you are not locked in.
Common mistake: skipping the job number pattern and going straight to filing. Without it, the job picker has nothing to match against, and you will get suggestions that look wrong. Type the example first.
Step 2: Create a job folder set from a preset
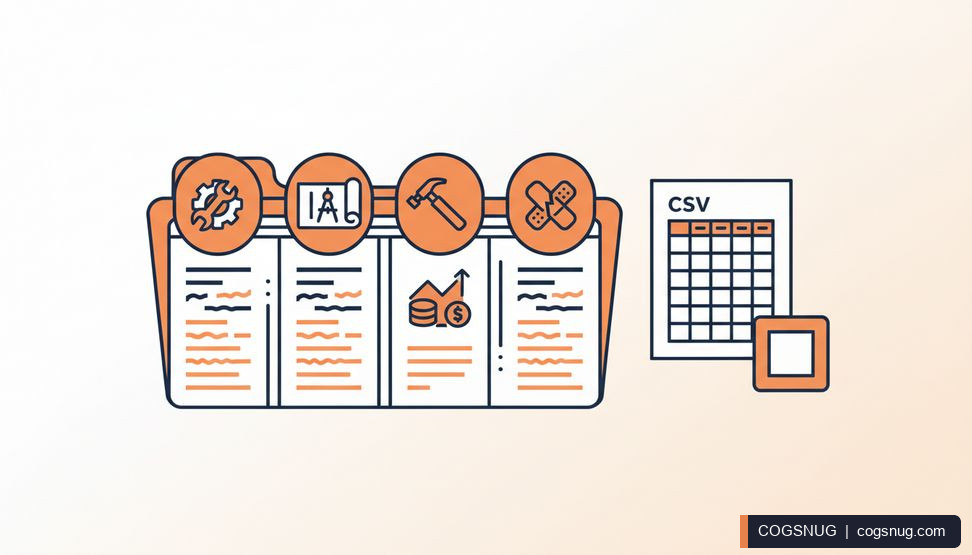
When a new job starts, you need a folder set: tender, contract, instructions and variations, RFIs, drawings, programme, valuations, H&S, meetings, site records, defects, correspondence. Building that by hand in Outlook is tedious and easy to get wrong.
In Construction mode, New job builds the folder set from a preset. The presets cover a main contractor, subcontractor, consultant or PM, and M&E firm, or you can use your own list. Duplicate job numbers are refused, which saves you from two P1040 folders with different contents.
Here is the practical routine:
- ✓Open the Folders tab in the panel.
- ✓Choose New job and pick the preset that matches the job.
- ✓Check the folder names against your own conventions. If your firm calls them Valuations rather than Applications, use your own list.
- ✓Create folders on the spot when a typed job has no Outlook folder yet.
Once the set exists, the add-in can pick the sub-folder for you. Wording such as RFI, variation, valuation, defect, RAMS, drawing or programme chooses the matching folder inside the job, using your own folder names.
Job numbers, a job picker and reference chips, all inside Outlook. Read more about email filing for construction firms.
Explore email filing for construction firms → Ask us a question →Step 3: File emails by job number in two clicks
Day to day, filing should take seconds. Select an email and the panel puts its best guess on a big File it button. In Construction mode, a job picker sits right on the File screen, with the job from the subject first and a sub-folder already chosen.
Two clicks file an email that has no job number at all: pick the job, then confirm. For emails that do have a job number, the job in the subject comes first, so it is usually one click.
Under each email you will see reference chips such as Job P1040, RFI 023, CE 012 or Valuation 5. Click one to find every related email in one click. This is the fastest way to gather a job's correspondence before a meeting or a claim.
If you file something to the wrong place, every filing is listed in Recent filings. Undo puts mail back, with its read state, flag and categories, for 48 hours.
Common mistake: filing only the emails that have a job number in the subject. Site photos, phone messages and replies often have no number. Use the job picker for those, or they will sit in the Inbox until the next tidy.
Step 4: Use reference chips and Related to find a job's emails
Filing is only half the job. The other half is finding. The Related tab searches all folders at once, then lets you act on what you tick. You can start from this conversation, this sender, a reference chip such as RFI 023, or type anything.
For a construction office, the reference chips are the useful part. If a subcontractor asks about a variation, click the Valuation 5 or CE 012 chip and you will see every email that mentions it, across every folder. Tick the ones you want, then file them to one folder or delete them.
This is also how you prepare for a meeting: gather the job's emails, then use the Follow up tab to turn the ones that need action into Microsoft To Do tasks with a due date. Construction mode adds contract deadlines: chase an RFI, payment notice, final date for payment, or NEC compensation event. These are starting points you edit, not legal advice.
For a deeper walkthrough of every tab, see the Mail Archiving Assistant user guide.
Step 5: Close out a finished job to Archive by year
When a job completes, its folder set should leave the active list. Otherwise the job picker fills up with old jobs and suggestions get noisier.
Close out a job from the Folders tab. It moves the job to Archive by year, with undo for 7 days. Learned paths follow the move, so the add-in does not keep suggesting the old location. Archived jobs stop being suggested.
A sensible close-out routine:
- ✓Before closing, list the job's emails as a table and save the CSV (see the next section). This is your record for claims and handovers.
- ✓Check the job folder for stray emails filed to the wrong job. The filing log of filings, saves and close-outs is kept on your device and downloadable as CSV.
- ✓Close out the job. If you spot a mistake within 7 days, undo it.
Common mistake: closing out a job before exporting its email list. Once it is in Archive by year, it is still there, but the export is easier while the job is fresh and you remember what the claim needs.
Ask a question or share a tip with other users on the CogSnug support forum.
Explore the CogSnug support forum → Ask us a question →Step 6: List a job's emails as a CSV for claims and handovers
Claims and handovers both need a list: date, sender, subject, folder and attachments. Building that by hand in Excel takes an afternoon and is easy to get wrong.
In Construction mode, List a job's emails produces a table with those columns. You can copy it for Excel or download it as CSV. Use it for:
- ✓Claims: a chronological list of correspondence for a delay or variation claim.
- ✓Handovers: a record of what was issued and when, for the client or the maintenance team.
- ✓Close-out: a final check that nothing important is missing before the job is archived.
The same table is useful for a quick audit: if a valuation email is missing from the list, you know to search for it before you close the job.
For firms that want a wider view of email filing for construction, see email filing for construction firms.
A short checklist for construction office managers
Work through this list once, then keep it as a reference for new starters.
- ✓Switch on Construction mode on the Look tab.
- ✓Type one job number example on the Jobs tab so the add-in learns the shape.
- ✓Set the folder that holds your jobs and the folder for finished jobs.
- ✓Edit contract deadlines to match your contracts.
- ✓Create a job folder set from a preset when a new job starts.
- ✓File by job number daily, using the job picker for emails with no number.
- ✓Use reference chips to gather a job's emails before meetings and claims.
- ✓Export the job's email list as CSV before close-out.
- ✓Close out finished jobs to Archive by year, with undo for 7 days.
If you want to see how the add-in handles your own job numbers, you can start a 30-day free trial of the Assistant. It works inside your own mailbox, with no server needed for filing.
File construction email by job number
See how Mail Archiving Assistant for Outlook files by job number, builds job folder sets from presets and exports a job's emails as CSV. Start your 30-day free trial.
Explore Mail Archiving Assistant for Outlook → Ask us a question →Related: Mail Archiving Assistant for Outlook · email filing for construction firms · the Mail Archiving Assistant user guide